

Coloring Vector Art In CorelDRAW
Open a new document.
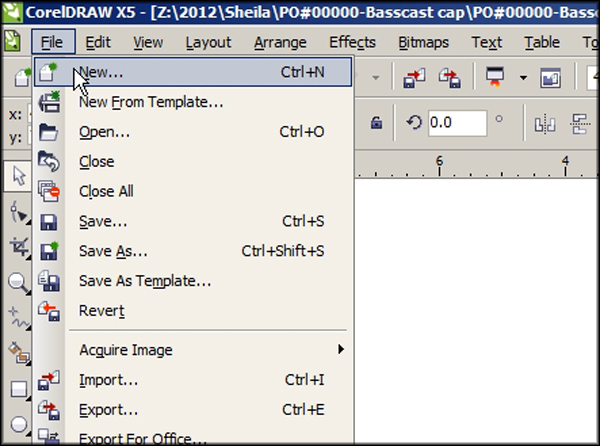
Use the rectangle tool to create a rectangle. You can make it whatever size you want. We’ll be using this rectangle to test our different coloring techniques.

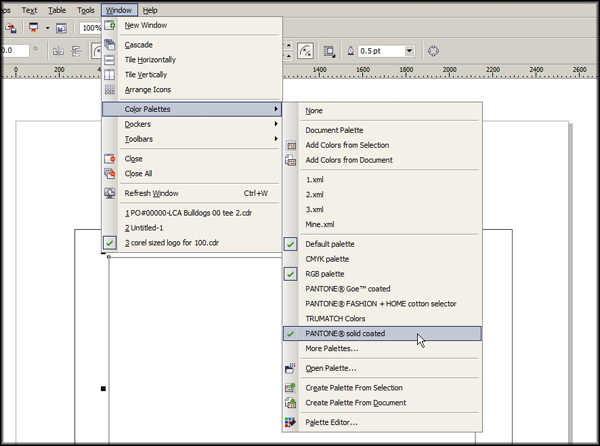
The simplest way to color in CorelDRAW is to use the color palettes. You probably have the CMYK palette open on the right side of your workspace by default. Let’s open two other palettes that we can work from. Go to Window in the top menu and choose Color Palettes. Select RGB Palette. This opens the palette on the right side of your workspace. Repeat this process and also open the PANTONE® Solid Coated palette.
Select your rectangle and left click on any color on the Pantone® palette. This fills your object with the selected color. Right clicking on a colors changes the outline color .
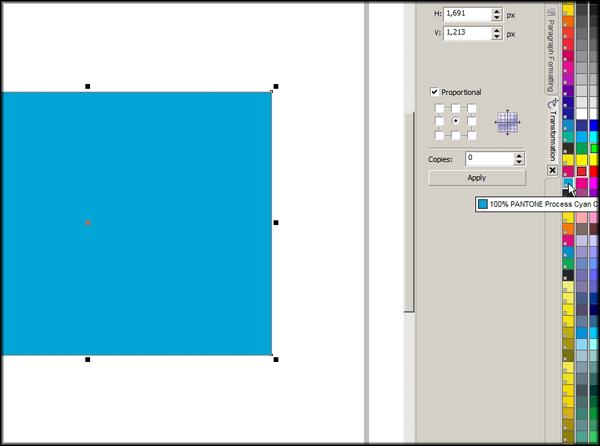
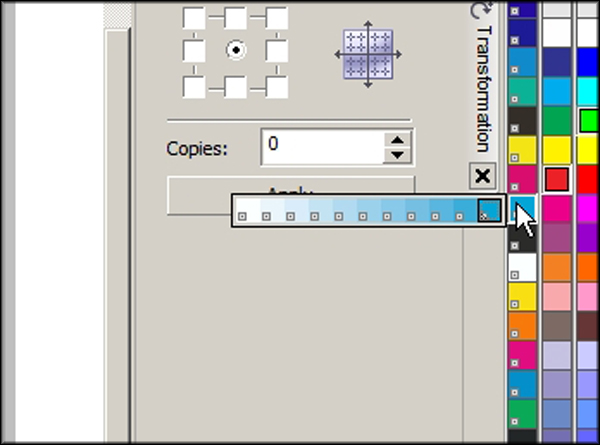
Left click and hold on a color on the Pantone® palette. This will expand out a separate palette that contains 0% to 100% tints of that color.
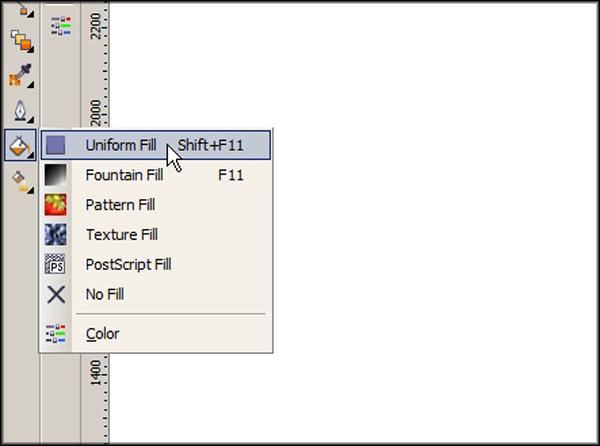
Another way to color your objects that will give you many more options is to use the Fill Tool.
Select your object. Click on the Fill Tool and choose Uniform Fill.
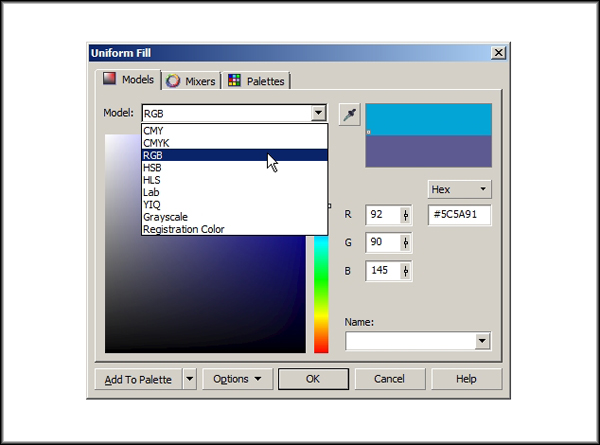
This opens the Uniform Fill window. On the left of the window go to the Models option.
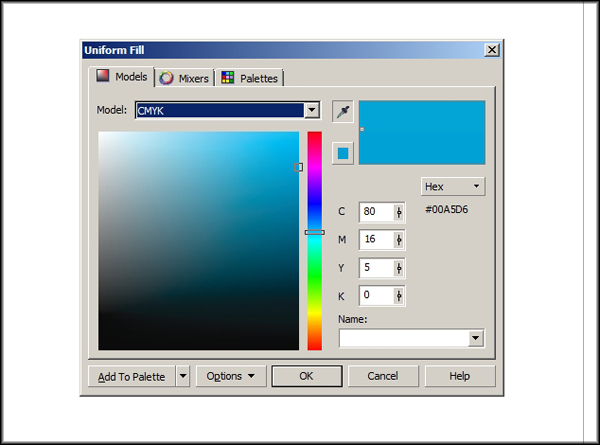
The slider in the center chooses the color...

... and the picker on the left picks the color. The true color can be chosen by moving the picker to the top right on large square. The top left is a pure white. The bottom left and right are pure black. These areas give you the ability to choose from any tint (white added to the color) or shade (black added to the color) or any varient in between.
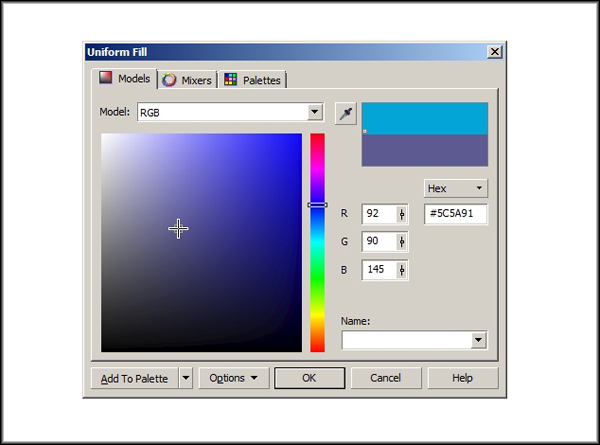
Change the color mode by clicking the small arrow which opens a drop down menu of the various models.
Also notice the Eyedropper tool. This lets you select any color on your screen and will find the closest color to it. This can come in really handy when your trying to match a color either in your art or in an imported image. It works with both vector and raster images.

Now go to the second section in the Uniform Fill window called Mixers.
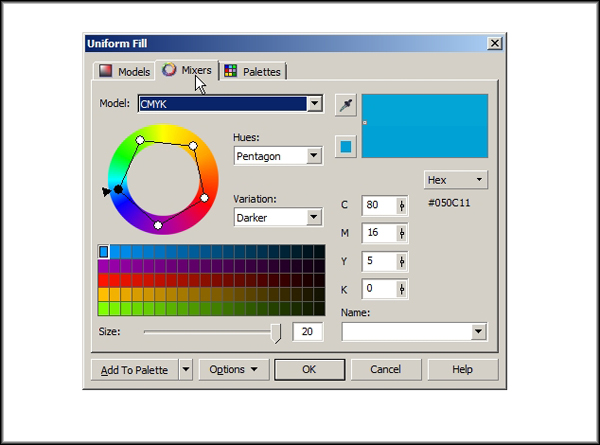
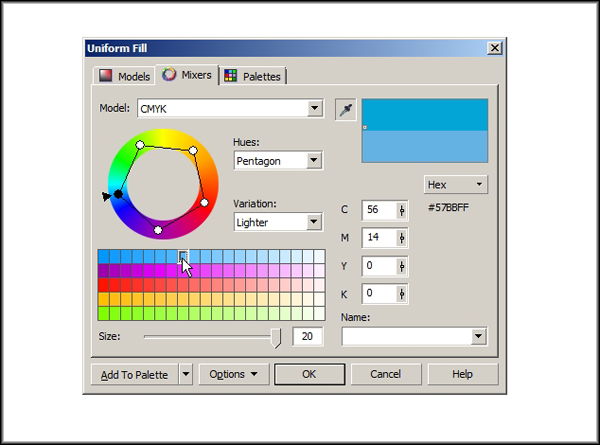
It has some of the same options as the Models window but works off of something that looks similar to a color chart. The nice thing about Mixers is that once you pick a color it will give you tints and shades of the color by clicking on the small arrow under variation and choosing lighter or darker.
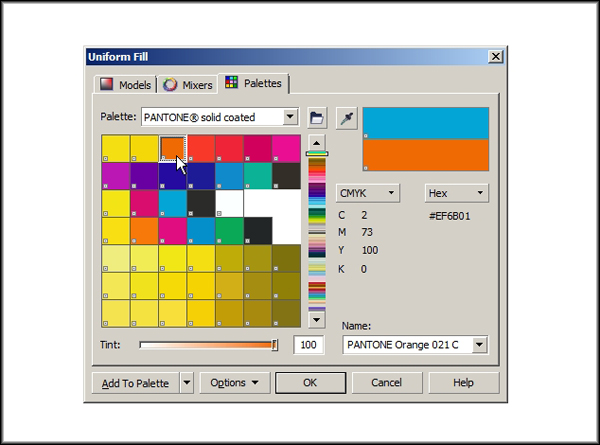
Now go to the third option in the Uniform Fill window called palettes. The default palette is the PANTONE® Solid Coated palette.
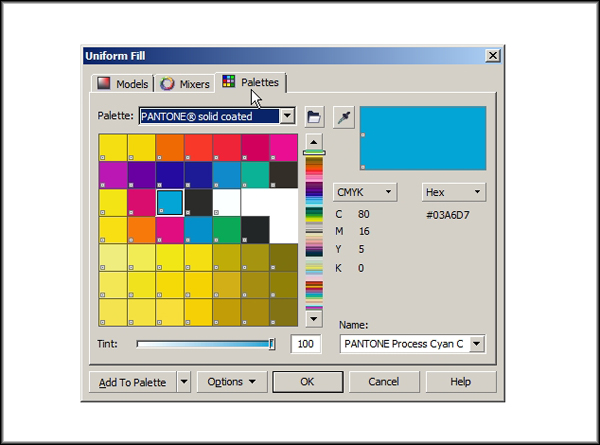
Change the color by clicking on a color in the large area on the left and click OK...
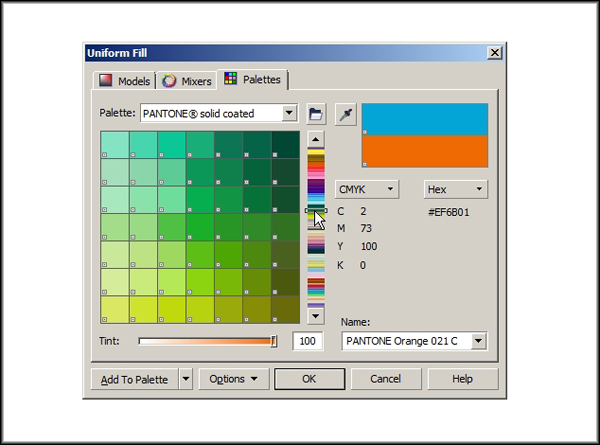
... or in the center of the window...
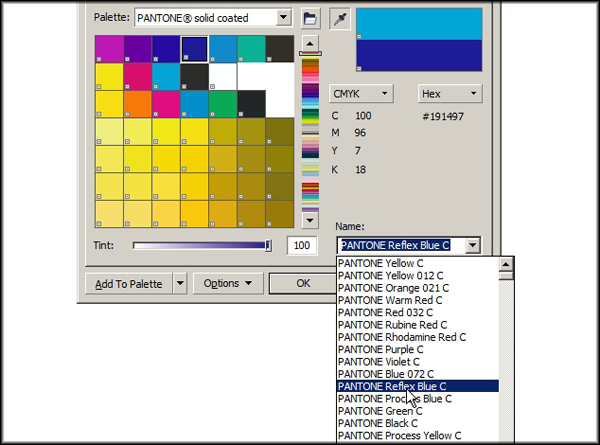
... or click the arrow next to the color name and choose the color you want from the drop-down list. You can also type in the Pantone® number if you know it.
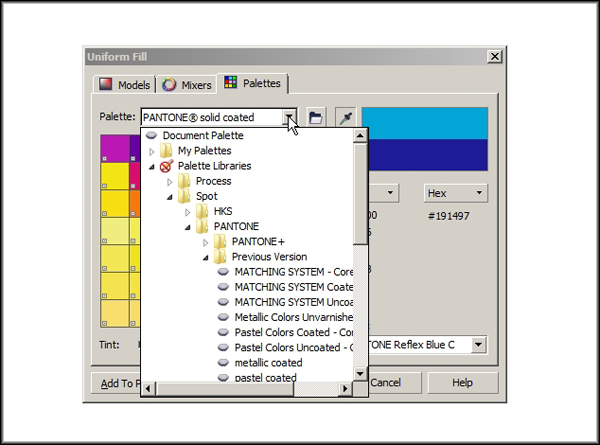
Click on the small arrow next to the word palette to change to a different palette.
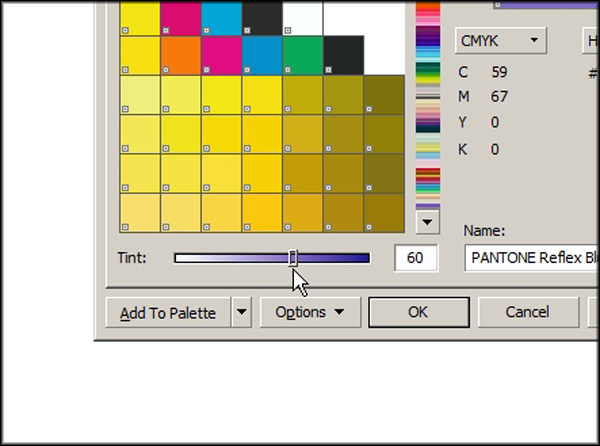
You can change the tint by a left clicking and holding on a color to expand the tint window or by using the tint slider at the bottom of the palettes window.
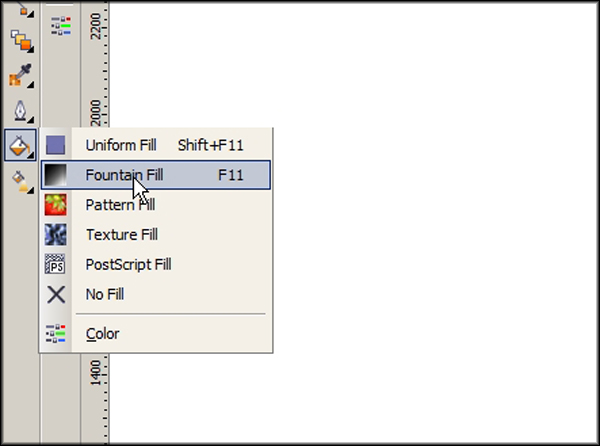
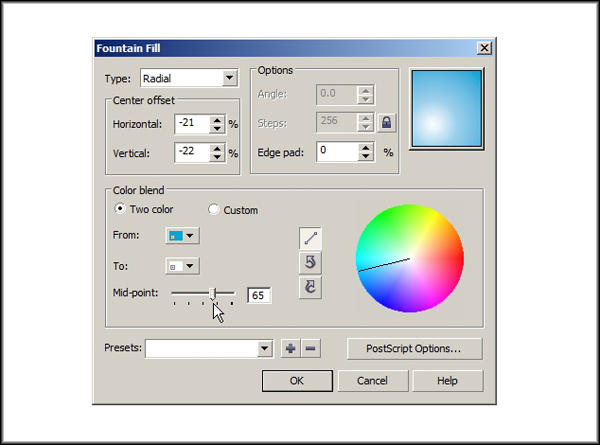
Close your Uniform Fill window and click on the Fill Tool again and select the Fountain Fill option.
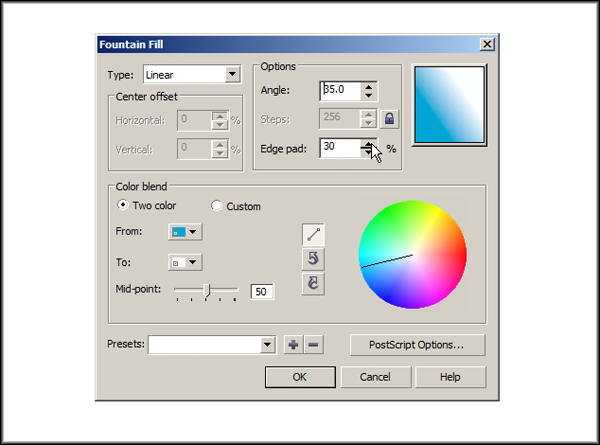
At the top of this window you can choose the type of gradient you want. The options are Linear, Radial, Conical and Square. For most purposes the Linier and Radial are the two types we will be using.

With the Linier fill you have the option to change the angle of the fill and the edgepad (which refers to how far the edge colors push into the object from the sides).
If you change to a radial type you’ll see that the center offset options become available. That simply refers to the position of the center of the gradient in relation to the object.
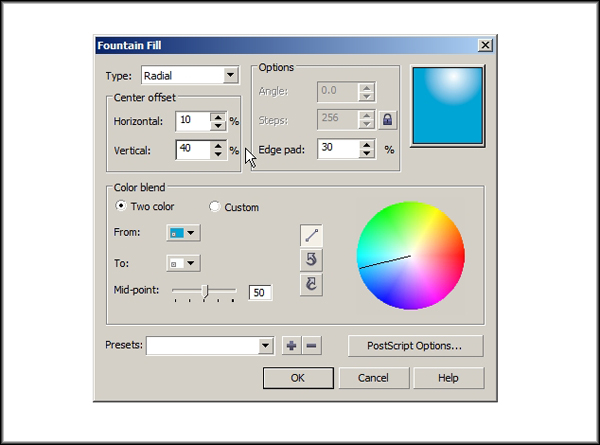
You can also move the center of the gradient by clicking in the square on the right that shows you what the gradient will look like.

Lower down on the Fountain Fill palette you find the Color blend attributes. You can have either a two color or Custom Color blend.
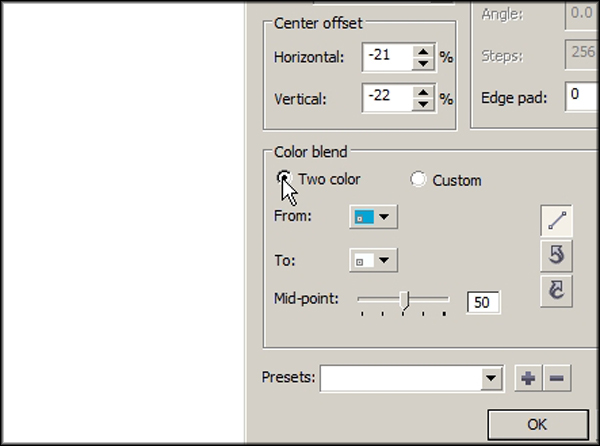
To change the color within the two color blend, click on the color and either pick a color from the colors in the drop down, or choose Other at the bottom of this dropdown. This will open the same options that are found under the Uniform Fill window.

You can also change the midpoint of the two color gradient.
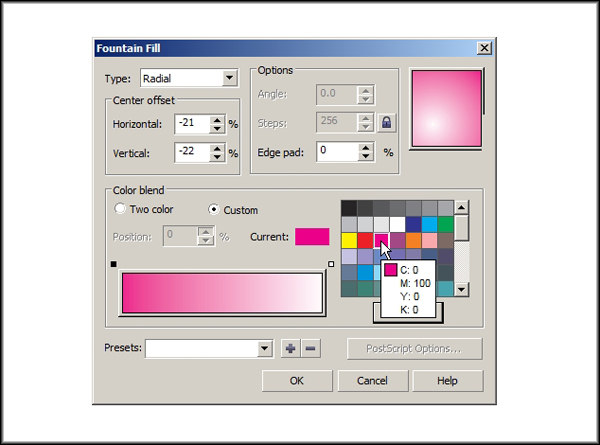
With the Custom blend you can use as many colors as you want to create your blend. The small square on either end is what you click on to change the colors at the edges. Use the colors to the right or chose the Others option to open the Select Color window and select your color.
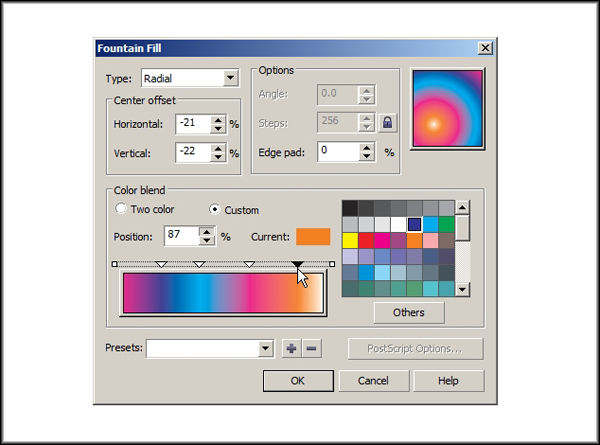
Click within or just above the gradient strip to add colors to the gradient. A downward pointing arrow will appear representing where that color sits within the gradient. To remove a color in the gradient simply select it and hit delete on your keyboard. Change the color of these inserted colors in the same manner as you did with the edge colors.
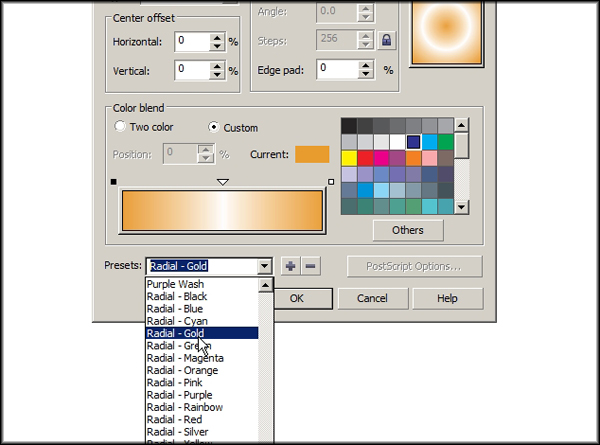
There are a few preset fountain fills you can try by clicking the arrow next to Presets at the bottom of the Fountain Fill window. Use the plus and minus signs next to it to save or delete your own gradients.
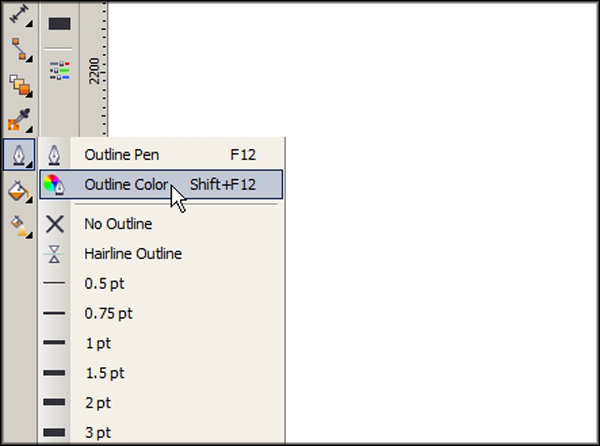
In order to color your outlines you can either (with your object selected) right click on one of the colors in the palettes to the right of your workspace or you can go to the Outline Pen Tool and choose Outline Color.
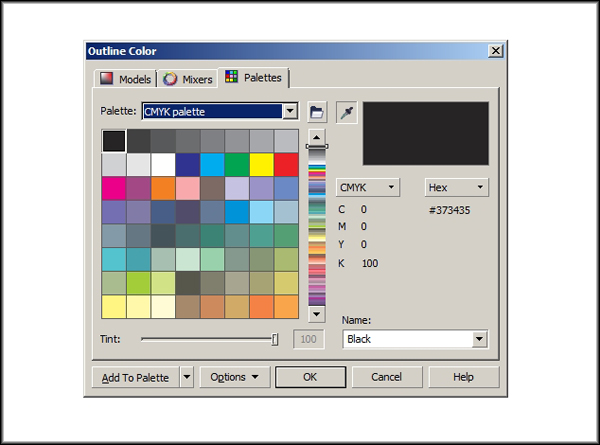
This opens a color options panel that contains the Models, Mixers and Palettes options exactly like the one in the Uniform Fill window.
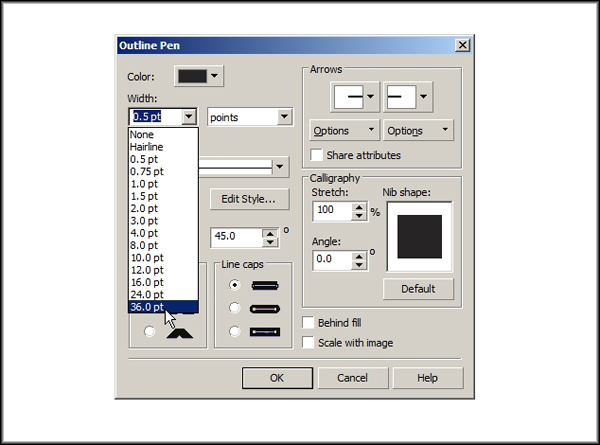
If you want to make your outline have a gradient fill you have to first convert it to an object. First let’s make a large outline. That way we can see better what is happening to it. Go to the Outline Pen tool and click on Outline Pen.
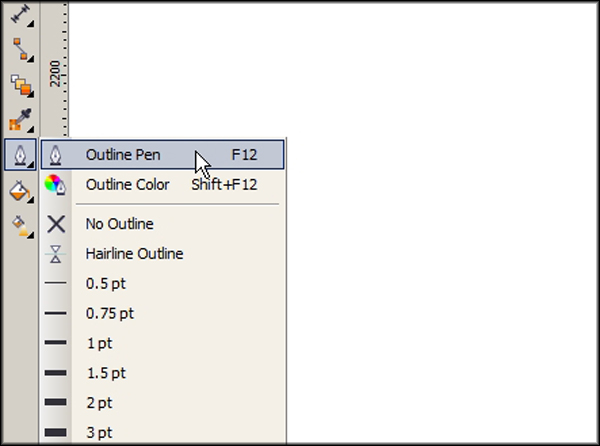
In the Outline Pen window go to Width and choose 36.0 pt.
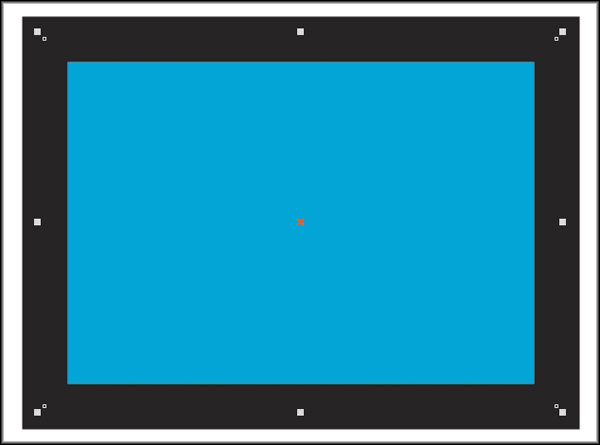
Your rectangle should now look something like this.
With your outlined object selected go to Arrange in the top menu and choose Convert Outline to Object.
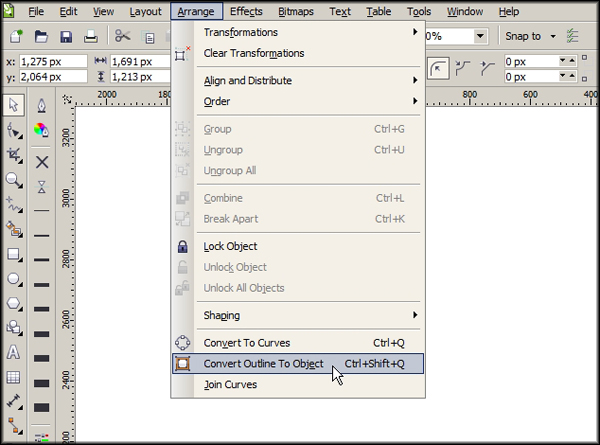
Now you can color it as you would any other object, and you can use a gradient on it. Remember that once this is done you can’t revert the object back to an outline once the file has been saved.
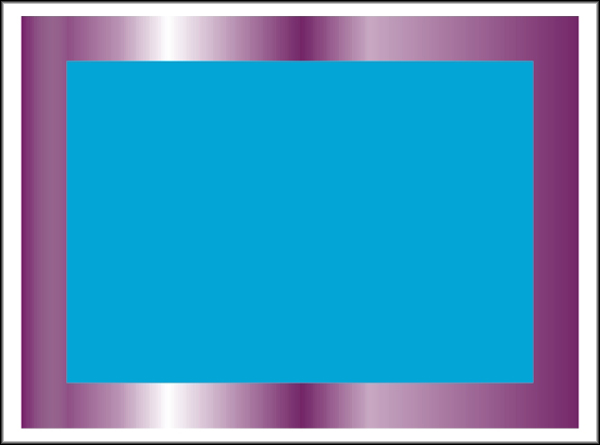
Here is an Illustrated example by AWesleyFloyd of what you can do using the tools and simple techniques we’ve gone over in this tutorial.
I encourage you to experiment and find your own favorite coloring techniques. One approach that needs it’s own tutorial in order to give a better explanation of how it can work for you can be found at Coloring with a Gradient Mesh in CorelDRAW.